The Braces (Tone Bars)
By John Fisher
"Far away there in the sunshine are my highest aspirations. I may not reach them, but I can look up and see their beauty, believe in them, and try to follow where they lead."-Louisa May Alcott (1832-1888), American author
The braces or tone bars are used to strengthen the top for the downward pressure of the strings on the top and also influence the sound of the instrument as it disciplines the top as it stiffens it.
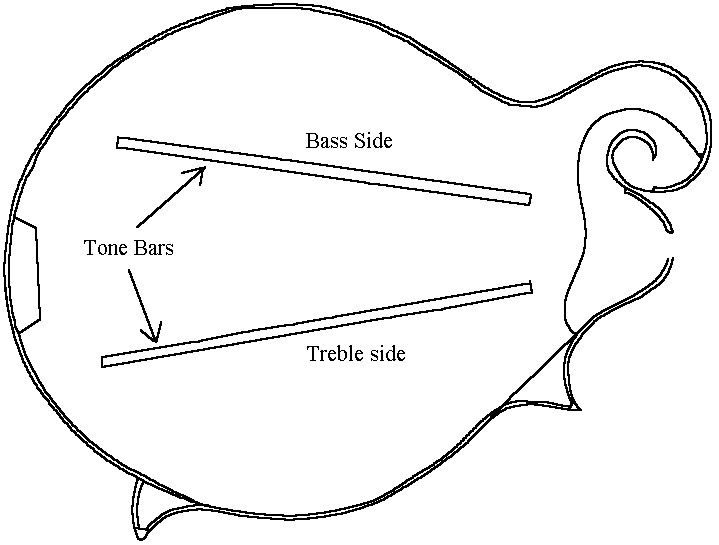
Above shows the position of the tone bars if you were to see inside through the top of the mandolin.
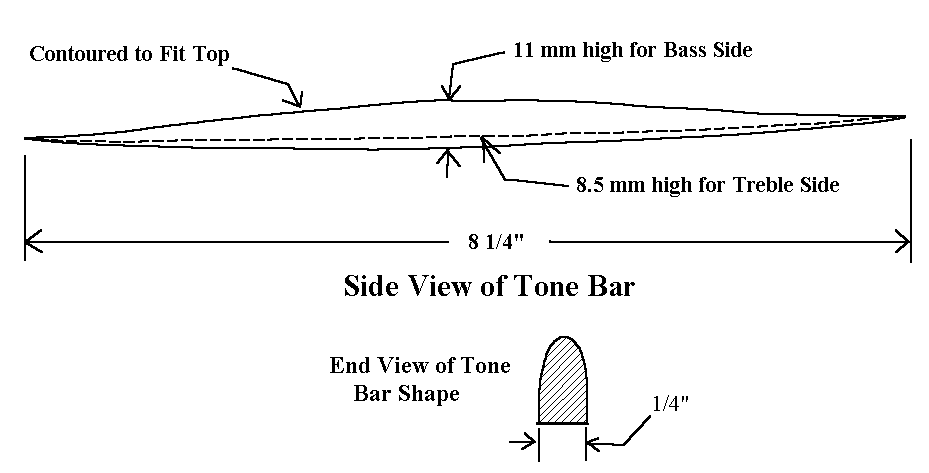
Above is an illustration to of a tone bar. You will have to contour it to fit the exact shape of the top. You will notice that the Bass side tone bar is a bit thicker (11 mm) then the treble side tone bar. (8.5 mm) These are suggested thicknesses which can vary depending on what wood you use and your intuition in tone tapping.
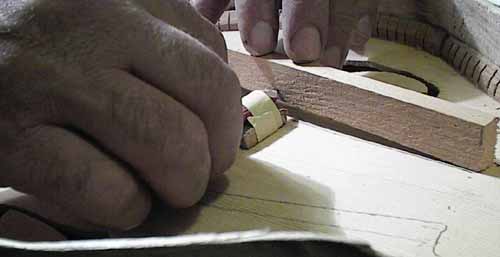
To get the correct curve on the tone bar blank to conform to the top, I laid the wood blank on the concave top and with a pencil taped to a small block of wood I went along the length of the tone bar blank which perfectly drew the shape of the curved top.
Here is a better picture of the pencil that is taped to the little wood block
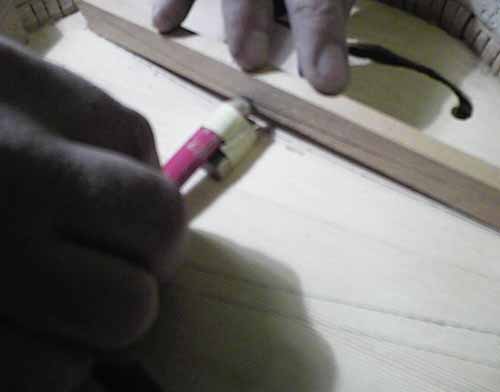
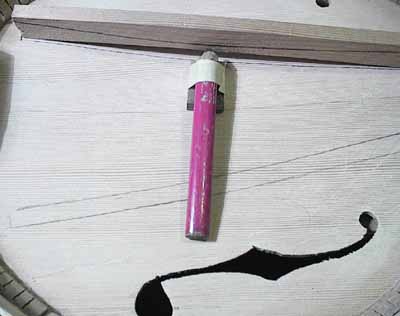
Here is a rather blurry picture of the pencil scribing the line. After the line was drawn, I simply cut it out and final sanded it to fit the top
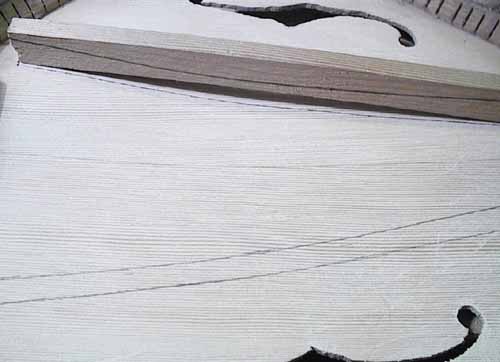
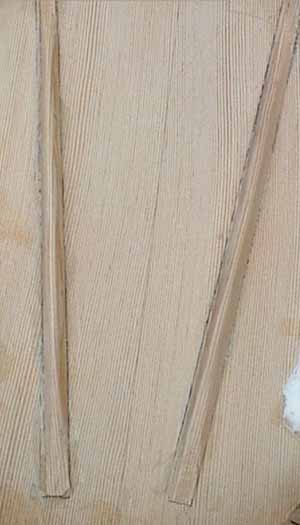
Here is a clearer picture of the line drawn
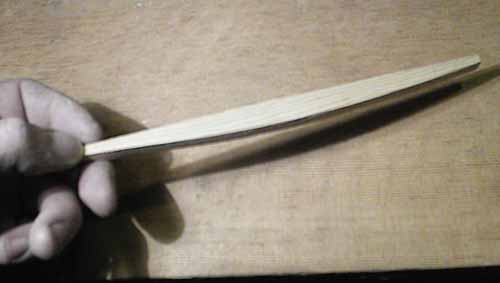
Here is the curved tone bar ready to be glued on. I final shaped the tone bar after it was glued on. Please note that I made a mistake and glued on the tone bars after the sides were glued on. Although it is not big deal, it would have been more convenient to do it before gluing the sides on as it is easier to shape the tone bars this way and also to tone tap it easier.
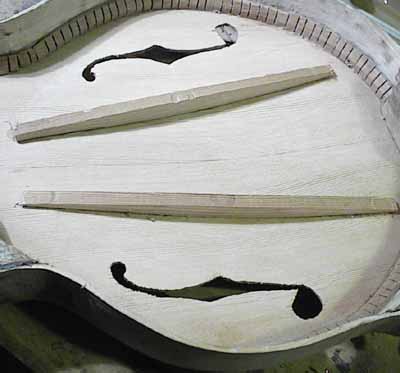
Here are the tone bars glued in. They will now be final shaped.
Here are the shaped tone bars. The ends are shaped and feathered down to zero thickness