Planning and Layout
By John Fisher
The great composer does not set to work because he is inspired, but becomes inspired because he is working. Beethoven, Wagner, Bach, & Mozart settled down day after day to the job in hand with as much regularity as an accountant settles down each day in his figures. They didn't waste time waiting for inspiration.
I want to thank Ben Shelton for giving me a lot of good info on this project. A detailed plan for a Stratocaster guitar can be ordered at
http://www.mimf.com/ This is also one of the best links on the web for all kinds of instrument building info. I want to add that although detailed plans are a real help in building a guitar, I have made several guitars by just copying other guitars that I had available. This is not so hard. Ben also shared some very good ideas with me on how to accurately draw an object (such as a guitar) and make it into a CAD file on the computer.Here are some simple steps:
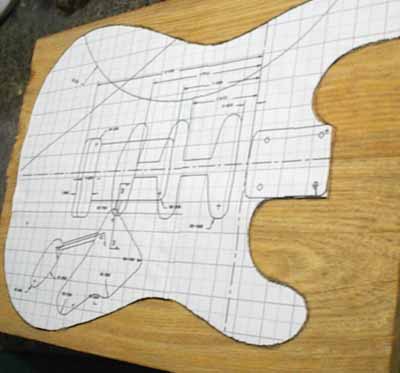
I made more than one printout so that I could cut out different aspects of the template to be able to trace onto the wood.
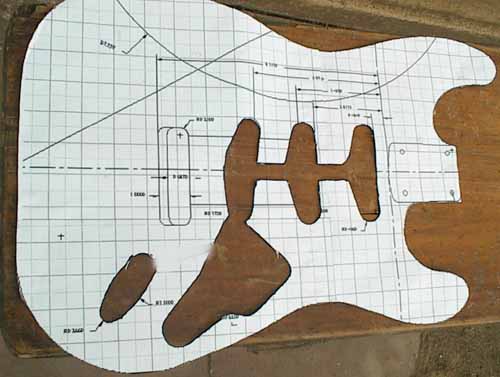
As you can see, on one of the printouts I cut out the places that I will need to rout out for the pickups and the
controls.
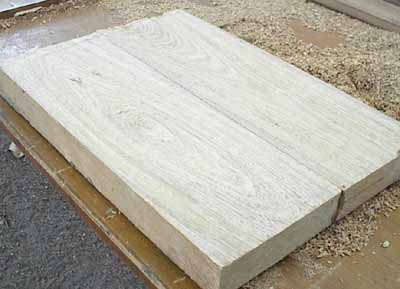
I started off by gluing these 2 pieces of 2" thick wood together to make the blank for the body. The only real hard part about this is getting the 2 edges nice and flat to make a good glue job. I started off by planing the edges as flat as possible. I then glued some sand paper to a flat surface then pushed the edge of the wood back and forth on the sandpaper to get a flat edge. When doing this it also helps to put the wood against a square block of wood while sanding it to make sure that the edge remains square. Periodically I would hold the 2 pieces together up to a light source to check the joint. When you can see no light peeping through the joint then you know that you have a good fit. When it is a good fit I then glued the 2 pieces together with wood glue. You can also glue it with epoxy glue which makes for a good strong joint that is even more forgiving for any gaps as epoxy glue is a real good gap filler. Of coarse if you are going to put on a clear finish this would be undesirable as you would be able to more likely see the joint in the finished product. For a more transparent joint, use white wood glue
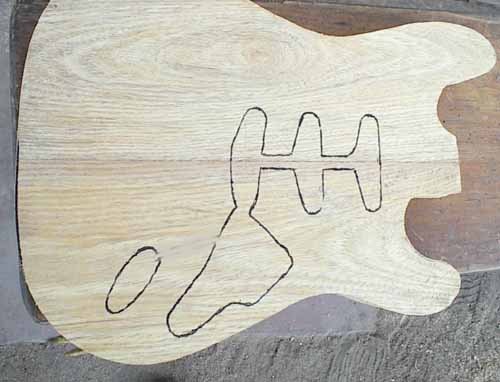
Here is where I drew the lines for the pickups and control area. Although there are router templates to facilitate doing this job, I just used the router freehand which wasn’t so difficult.
The shortest distance from where you are to the place where you would like to be is a plan.